An importer to bring 3D models in the popular .obj format into Codea
To test:
Install the Codea OBJ Importer in Codea (copy the entire contents of the /CodeaOBJImporter.lua file to the clipboard. In the Codea projects page, long press “+ add new project” and select “paste into project”)
Save the files in /models, and any other obj files you want to import, into /Dropbox/Apps/Codea
In the Codea asset picker, open Dropbox, and press sync in the topright corner. You’ll see a message saying files are being synced, though you won’t actually see the files themselves appear in the asset picker, because the extensions .obj and .mtl are not supported by the asset picker. Though this will probably change soon!
Notes
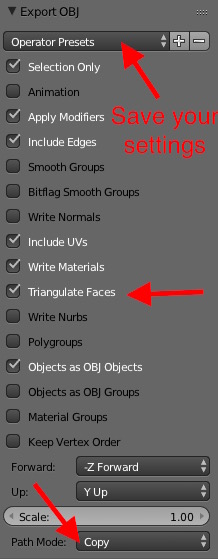
Only supports triangular faces. Select “Triangulate Faces” in the Blender .obj exporter (see image below) or apply a triangulate modifier.
Expects to find the texture image in the Dropbox. This can be automated by setting “Path Mode” to “Copy” in the Blender .obj exporter (see image above). Note that you can save export presets, so that you can save with consistent settings.
Currently, the importer only supports models with a single image texture, but models could have multiple textures. Previous implementations have addressed this by splitting the imported model according to its material. This is not a satisfactory solution however, as models could have multiple materials with the same (or no) image texture (as in the Tank.obj example). 2 potential approaches:
Have the user split and join the blender model into separate objects for each image texture. These separate objects would still be contained in a single obj file, and are flagged with the “o” code. The importer would start a new object when it sees “o”. This would mean the user would have to split models that contain multiple textures (in Blender edit mode, tap “a” to deselect all, select the material, press “select” to select the geometry that have that material, press “p” for separate, click “selection”), and join objects that have no texture or share the same texture (select the two objects, hit “j” for join). This would also allow the user to split objects for animation purposes (eg separate the wheels from the body of a vehicle)
Have the importer analyse the material list, and only split the object if a material uses a different texture.
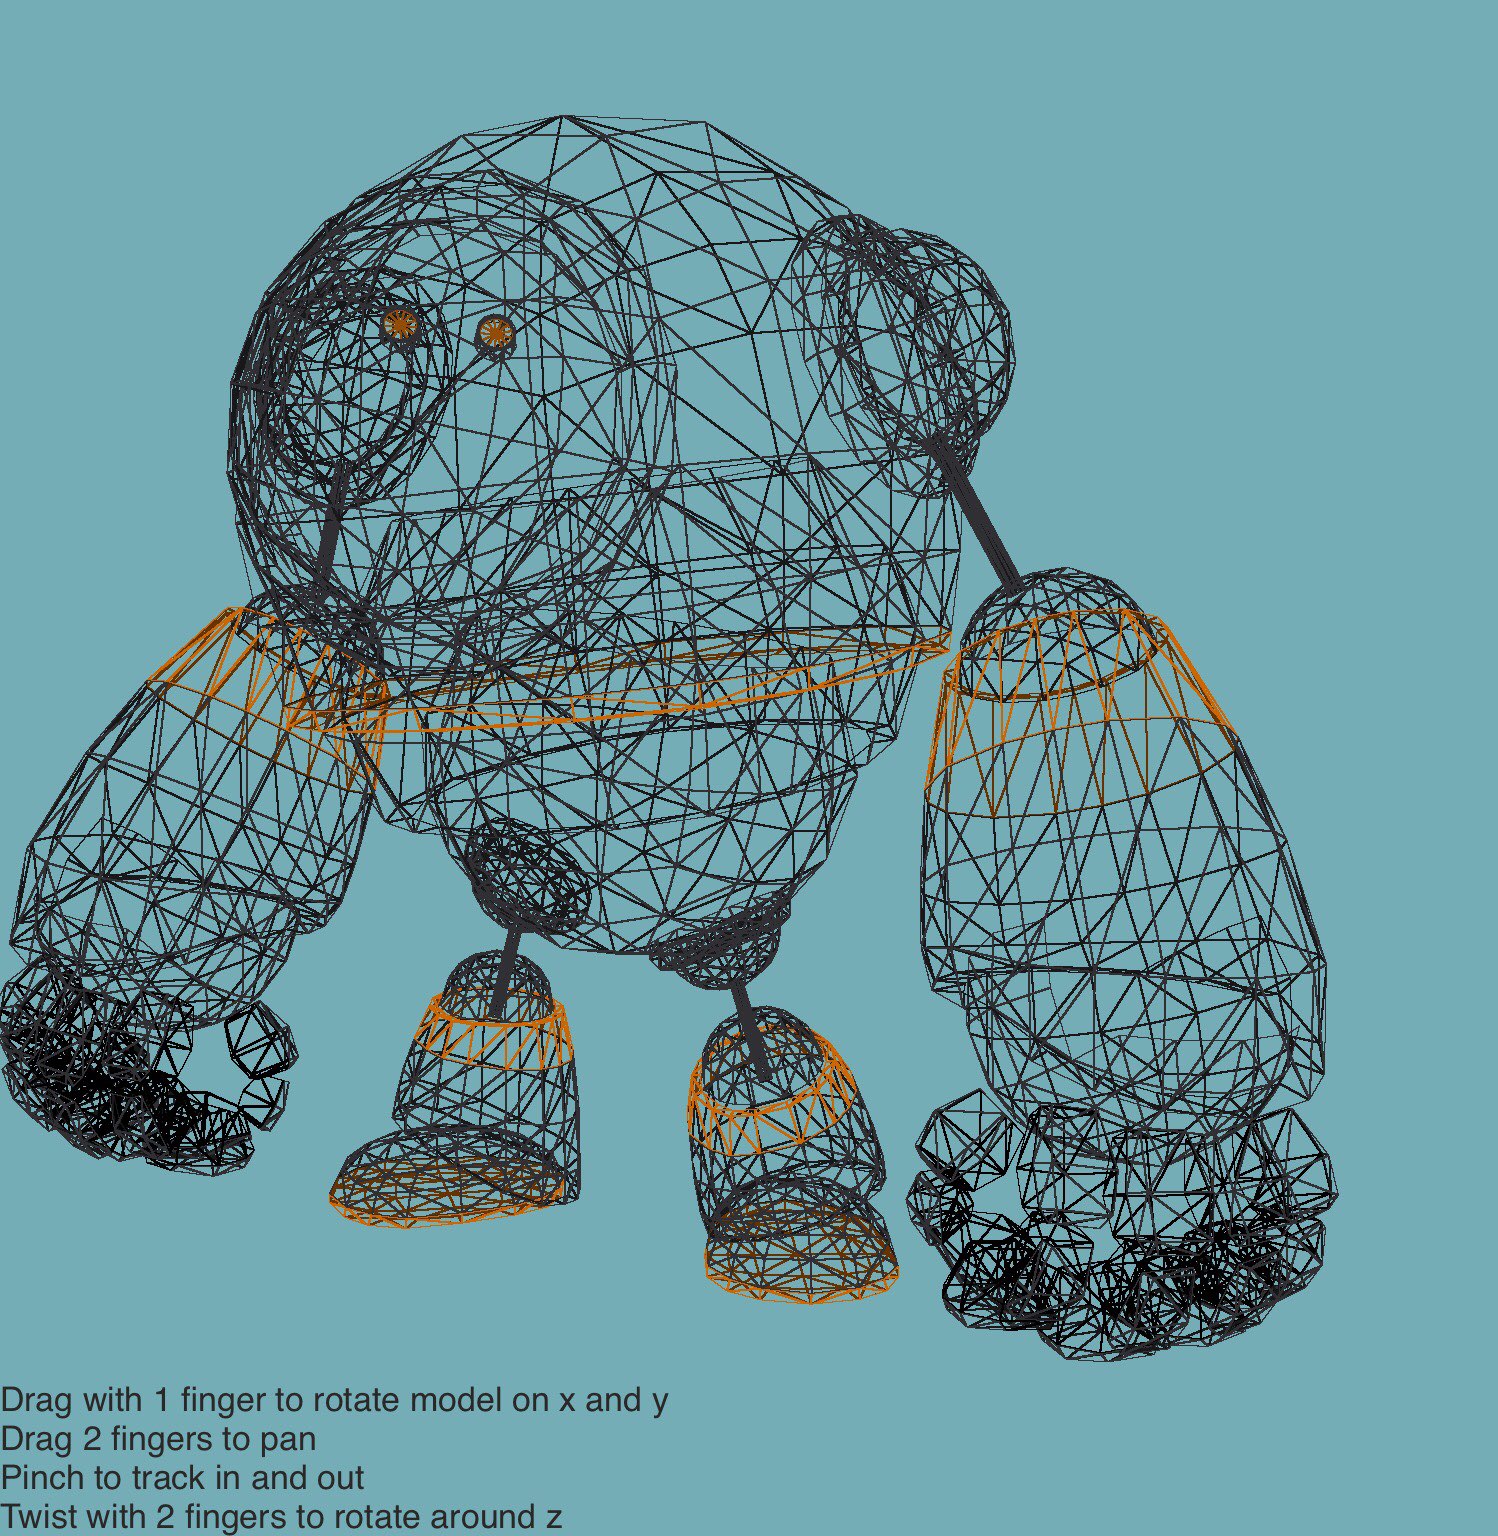
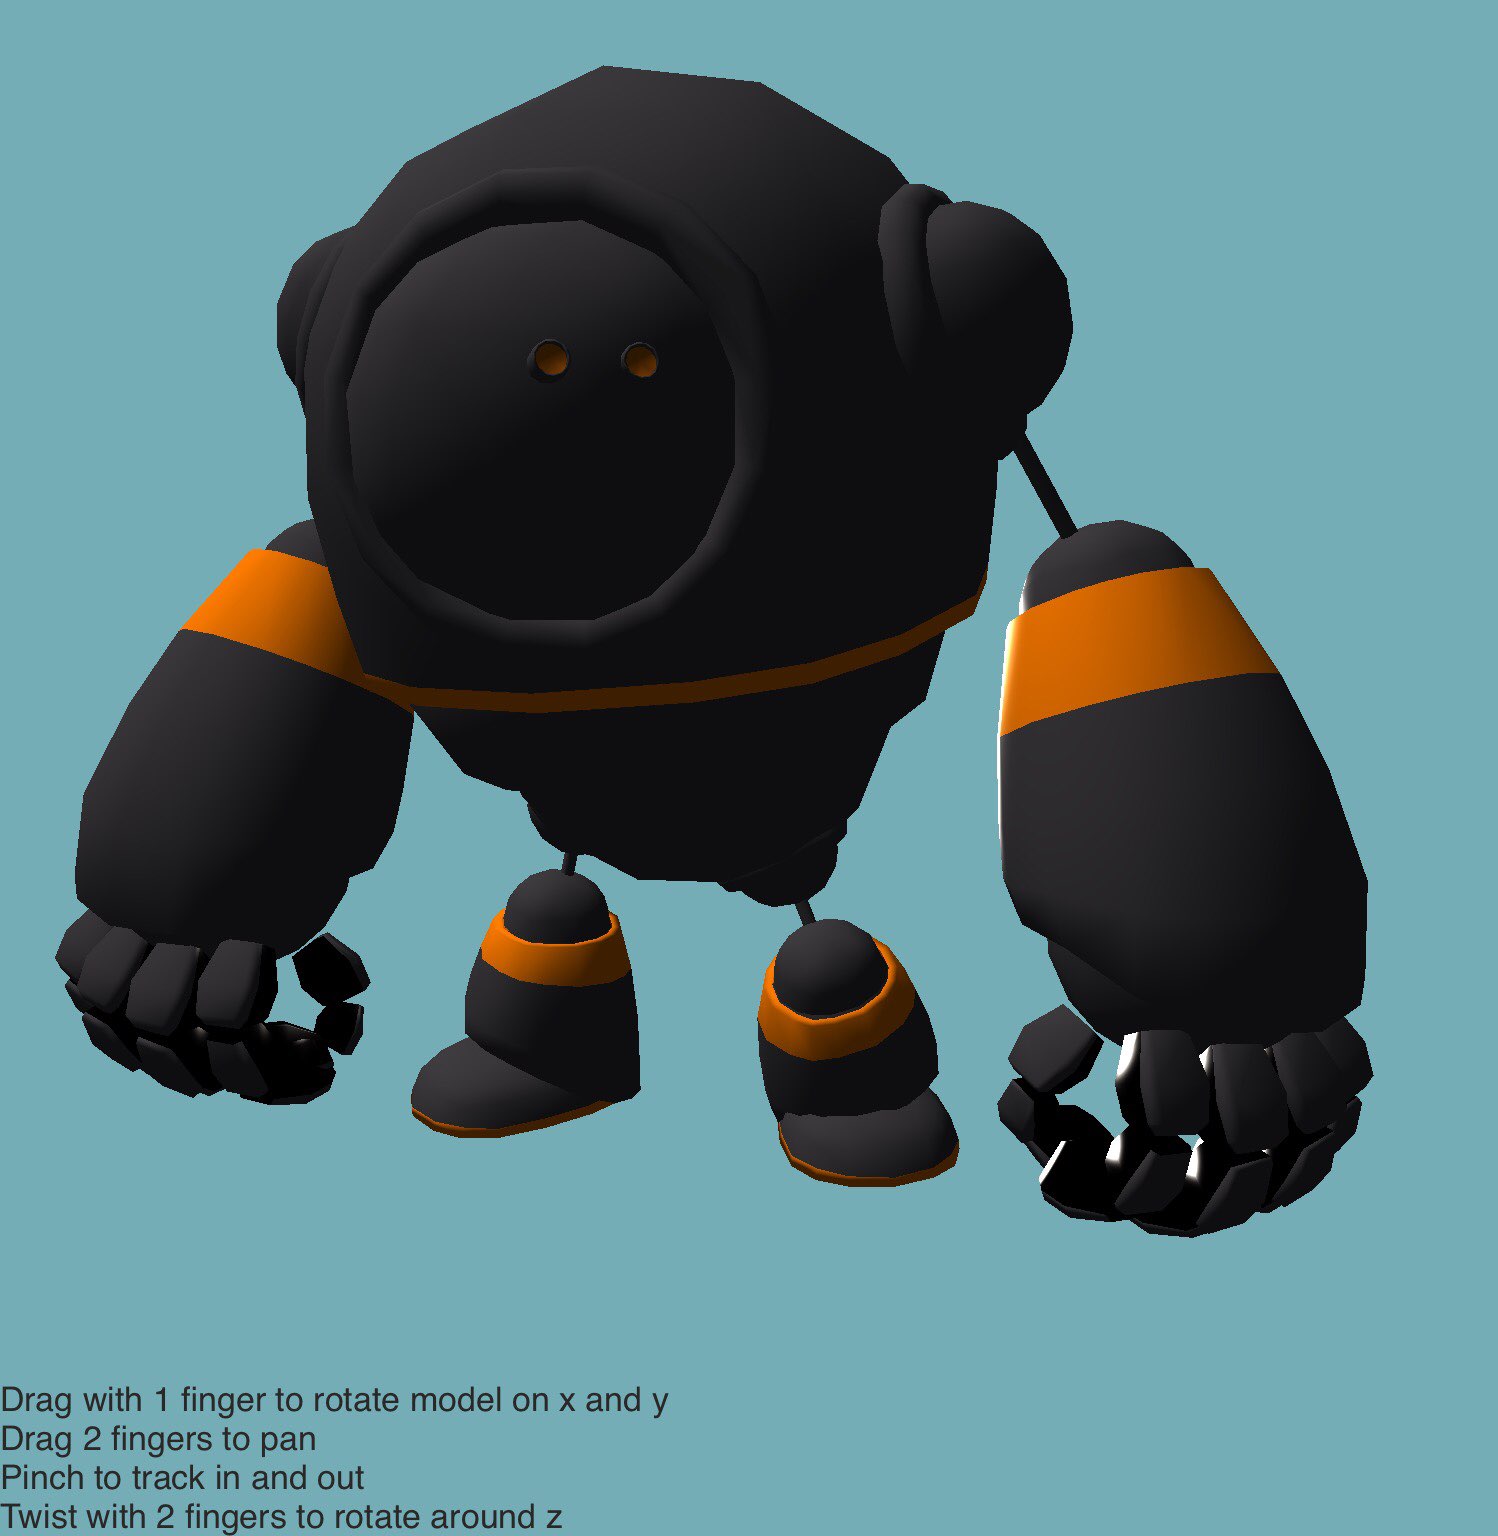
I tweaked it to draw the struts with the colour of the materials, and to use discard for the inner part of each face, for more consistent transparency.
I’d never heard of GLES standard derivatives before, they’re not even mentioned in the Kronos GLES spec! Amazing what you can learn on Codea Talk.
I added much better drag to rotate controls, now when you twist and swipe to rotate, the model always rotates in a consistent direction, no matter what its orientation is. I do this using the inverse of the model matrix to convert global touches into a consistent local rotation.
@Ignatz just saw your world of tanks post. Why not use this tank model (it’s a cc free licence)? Could do with being slightly lower poly… By coincidence I’m working on something tank-y myself…
Been a while since I’ve posted, still keep an eye on forum but have little time now to code. Also, updated my iPad2 to 9.02 and feel I need a machine upgrade.
As always interested in 3D so picked up on this thread - noted with interest on .obj model loader from @yojimbo2000 but can’t find link. Been playing with the one from @ignatz. Really need to get my head around how the system approaches the display of 3D. Some good references within the forum but none outlining how the OS approaches 3D.
Is it something like:
Defines environment with camera() and perspective.
Reads in world array
Generates world image (is this as a mesh?)
Displays world image
Waits for input which describes positional change (user driven)
Recalculates world array based on input then loops to 3
World image taking into consideration hidden polygons, rotation, field of vision and transposition in movement of camera and objects.
Objects reconstructed in a specific order to ensure finished image of object intact.
Have I got the right approach? Any other aspects to consider?
@Bri_G definitely check out @Ignatz 's 3D ebook, and the 3d blog posts, but basically you’re correct
Is it something like:
Defines environment with camera() and perspective.
Reads in world array
Generates world image (is this as a mesh?)
Displays world image
Waits for input which describes positional change (user driven)
Recalculates world array based on input then loops to 3
Except no 1, camera and perspective, go just before 4, as part of your draw cycle. A mesh is a unique set of geometry. A single mesh can be drawn in many different places in your scene. eg for an army of tanks, you’d have a single tank mesh, and then translate and rotate to various locations corresponding to each instance of the tank object to :draw() it. You could if you wanted further subdivide each tank into smaller meshes, say if you wanted the turret to move independently of the body. But that would slow things down a little, as generally speaking, you should try to minimise the number of draw() calls
@yojimbo2000 - yes, the problem with importing objects is that they often have too many vertices, and animating parts of them is difficult. I don’t want to spend dozens of hours just on the model.
Anyway, I do this for enjoyment, so I’ll end up doing whatever is the most fun
In setup, read in the model mesh. If it is going to move about, rotate or be used to draw several objects, center it on 0,0,0, whereas if it is fixed scenery, you can just define the vertex positions where you want them
In draw, set up 3D with perspective
Set the camera position and where it is looking
Update your object positions (for movable objects, this doesn’t mean changing the vertex positions. Instead, you will translate to the position you want, so you only have to update that position).
Draw the objects in the scene, translating and rotating if required. This apparently complex process is managed very efficiently using 4x4 matrices. Generally, it doesn’t matter which order you do this in, because OpenGL figures out which pixels are in front.
And yes, a lot of reading helps. I’ve written a lot about it as my own understanding has developed, as well as trying a lot of different projects.
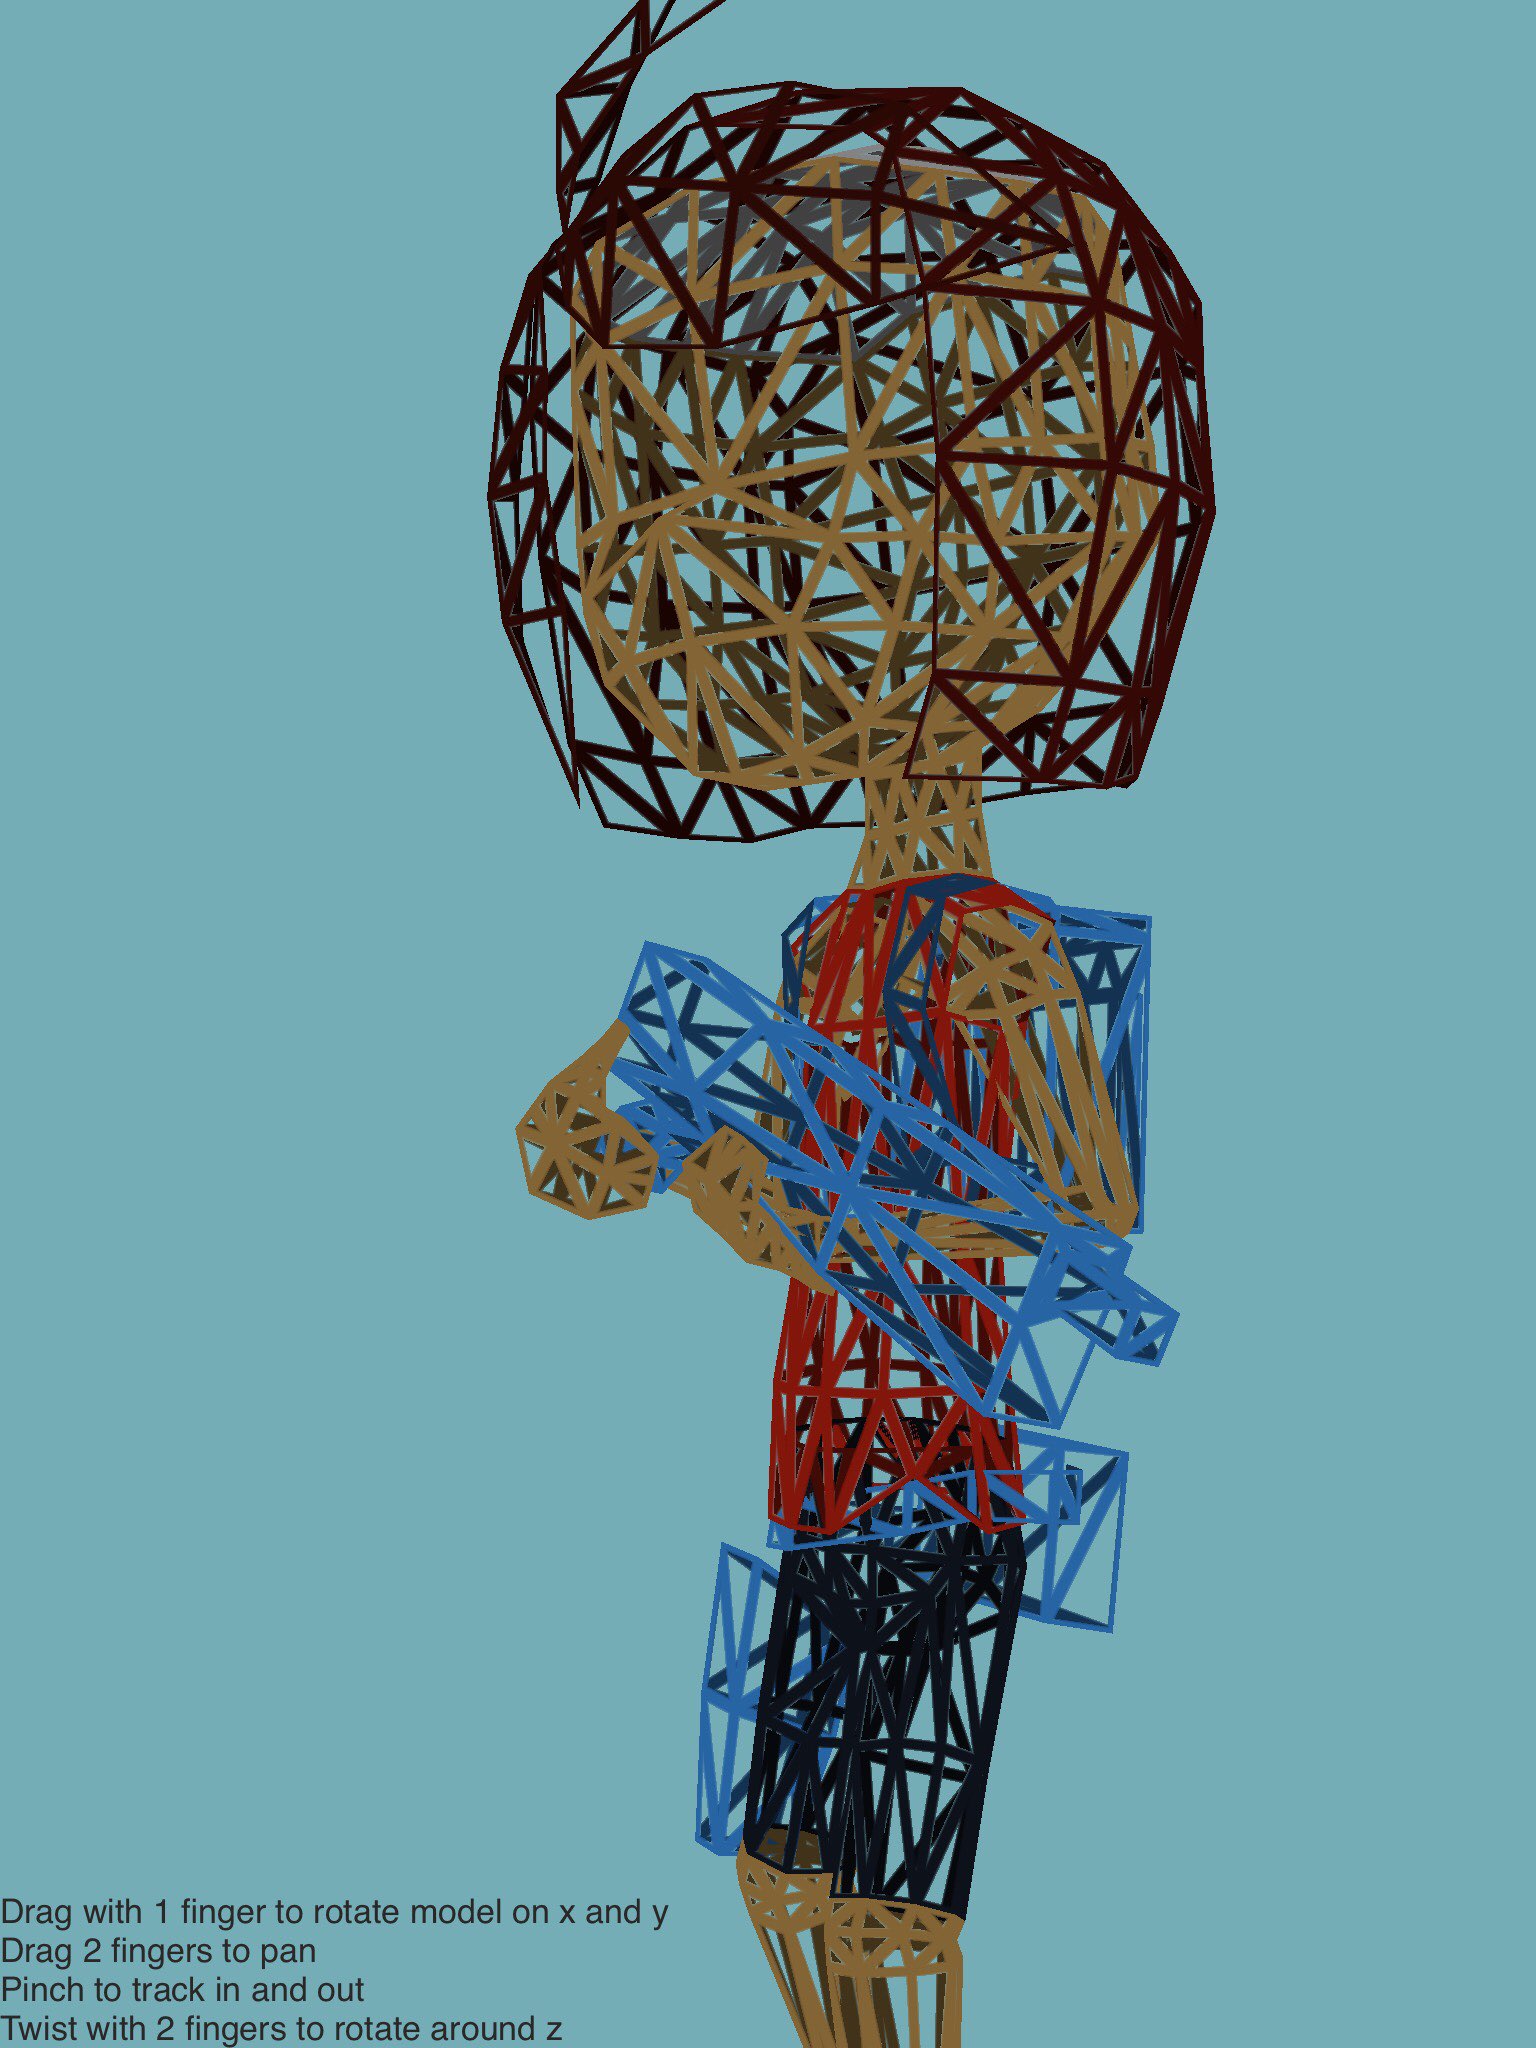
My version of the wireframe code (I use the normal attribute, rather than color). The repository linked to at the top of the thread now has this code included:
edit: added stroke width
wireframe = {}

function wireframe.set(m)
    local cc = {}
    for i = 1, m.size/3 do
        table.insert(cc, vec3(1,0,0))
        table.insert(cc, vec3(0,1,0))
        table.insert(cc, vec3(0,0,1))
    end
    m.normals = cc
    m.shader = shader(wireframe.vert, wireframe.frag)
    m.shader.strokeWidth = strokeWidth()
end

wireframe.vert = [[
uniform mat4 modelViewProjection;

attribute vec4 position;
attribute vec4 color;
attribute vec3 normal;

varying highp vec4 vColor;
varying highp vec3 vNormal;

void main(void) {
    vColor = color;
    vNormal = normal;
    gl_Position = modelViewProjection * position;
}]]

wireframe.frag = [[
#extension GL_OES_standard_derivatives : enable

uniform highp float strokeWidth;

varying highp vec4 vColor;
varying highp vec3 vNormal;

void main(void) {
    highp vec4 col = vColor;
    if (!gl_FrontFacing) col.rgb *= 0.5; //darken rear-facing struts
    highp vec3 d = fwidth(vNormal);
    highp vec3 tdist = smoothstep(vec3(0.0), d * strokeWidth, vNormal);

    //2 methods: 1. discard method: best way of ensuring back facing struts show through
    if (min(min(tdist.x, tdist.y), tdist.z) > 0.5) discard;
    else gl_FragColor = mix(col, vec4(col.rgb, 0.), -0.5 + 2. * min(min(tdist.x, tdist.y), tdist.z)); // anti-aliasing

    //2. alpha method means some rear faces wont show. Would be good for a "solid" mode though
    //gl_FragColor = mix(col, vec4(0.), min(min(tdist.x, tdist.y), tdist.z));
}]]
I’m thinking I could use this standard derivative extension to further refine the stroke and anti-aliasing in the Soda roundedRectangle class, as it seems to have something to do with anti-aliasing.
… if I could find some decent documentation on what it actually does.
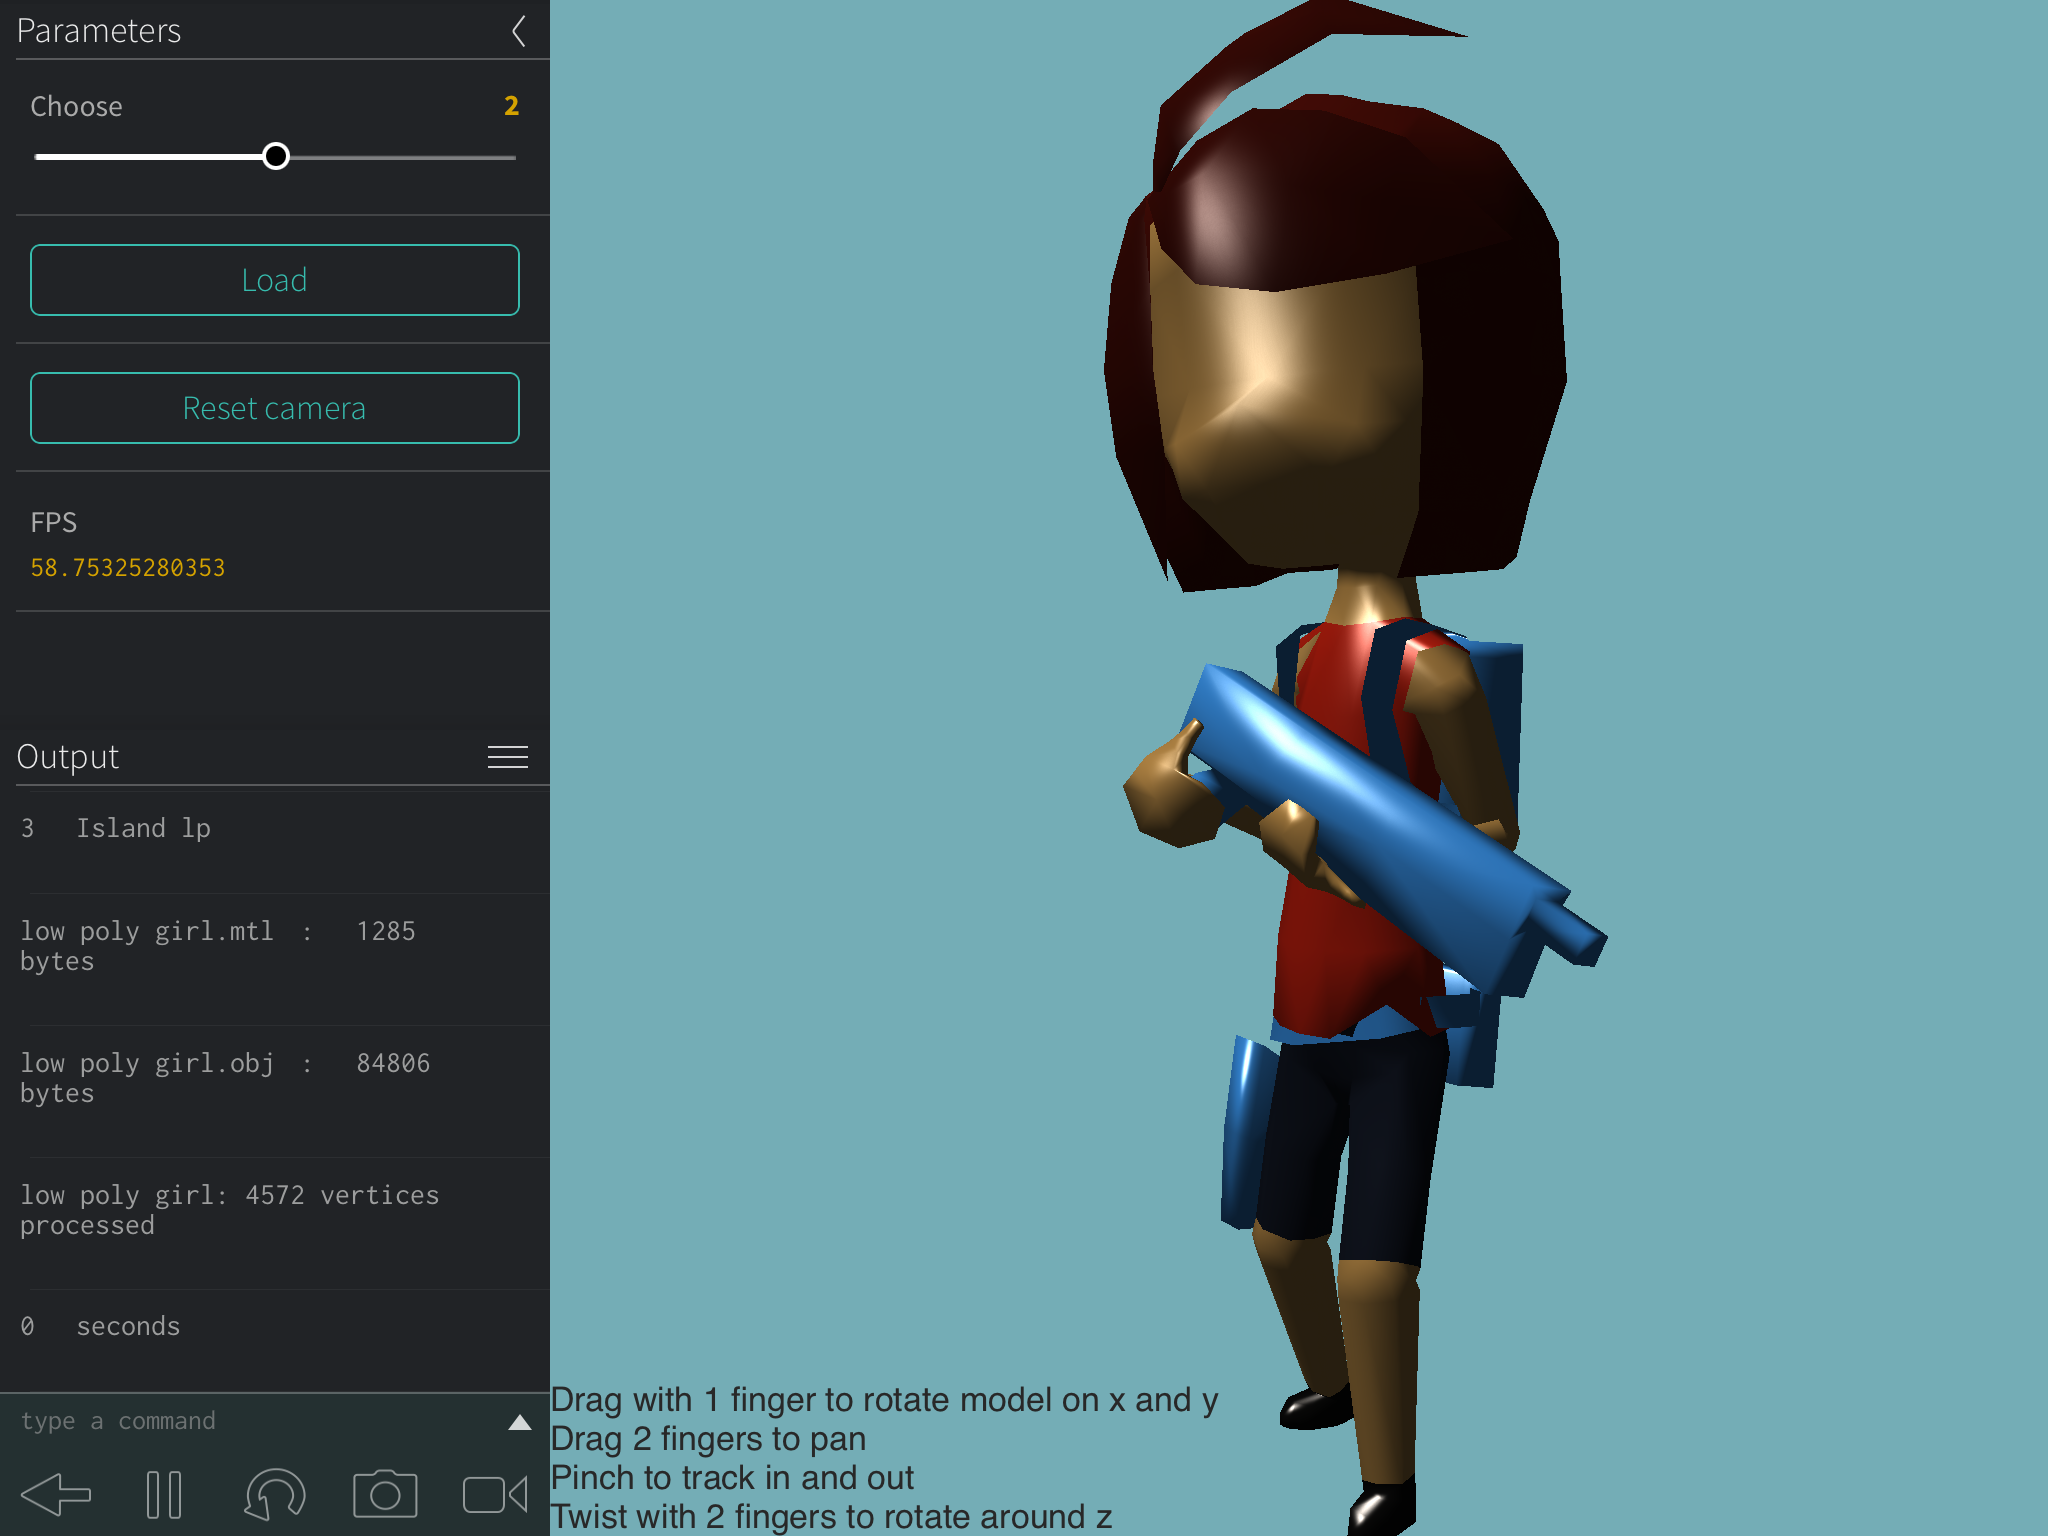
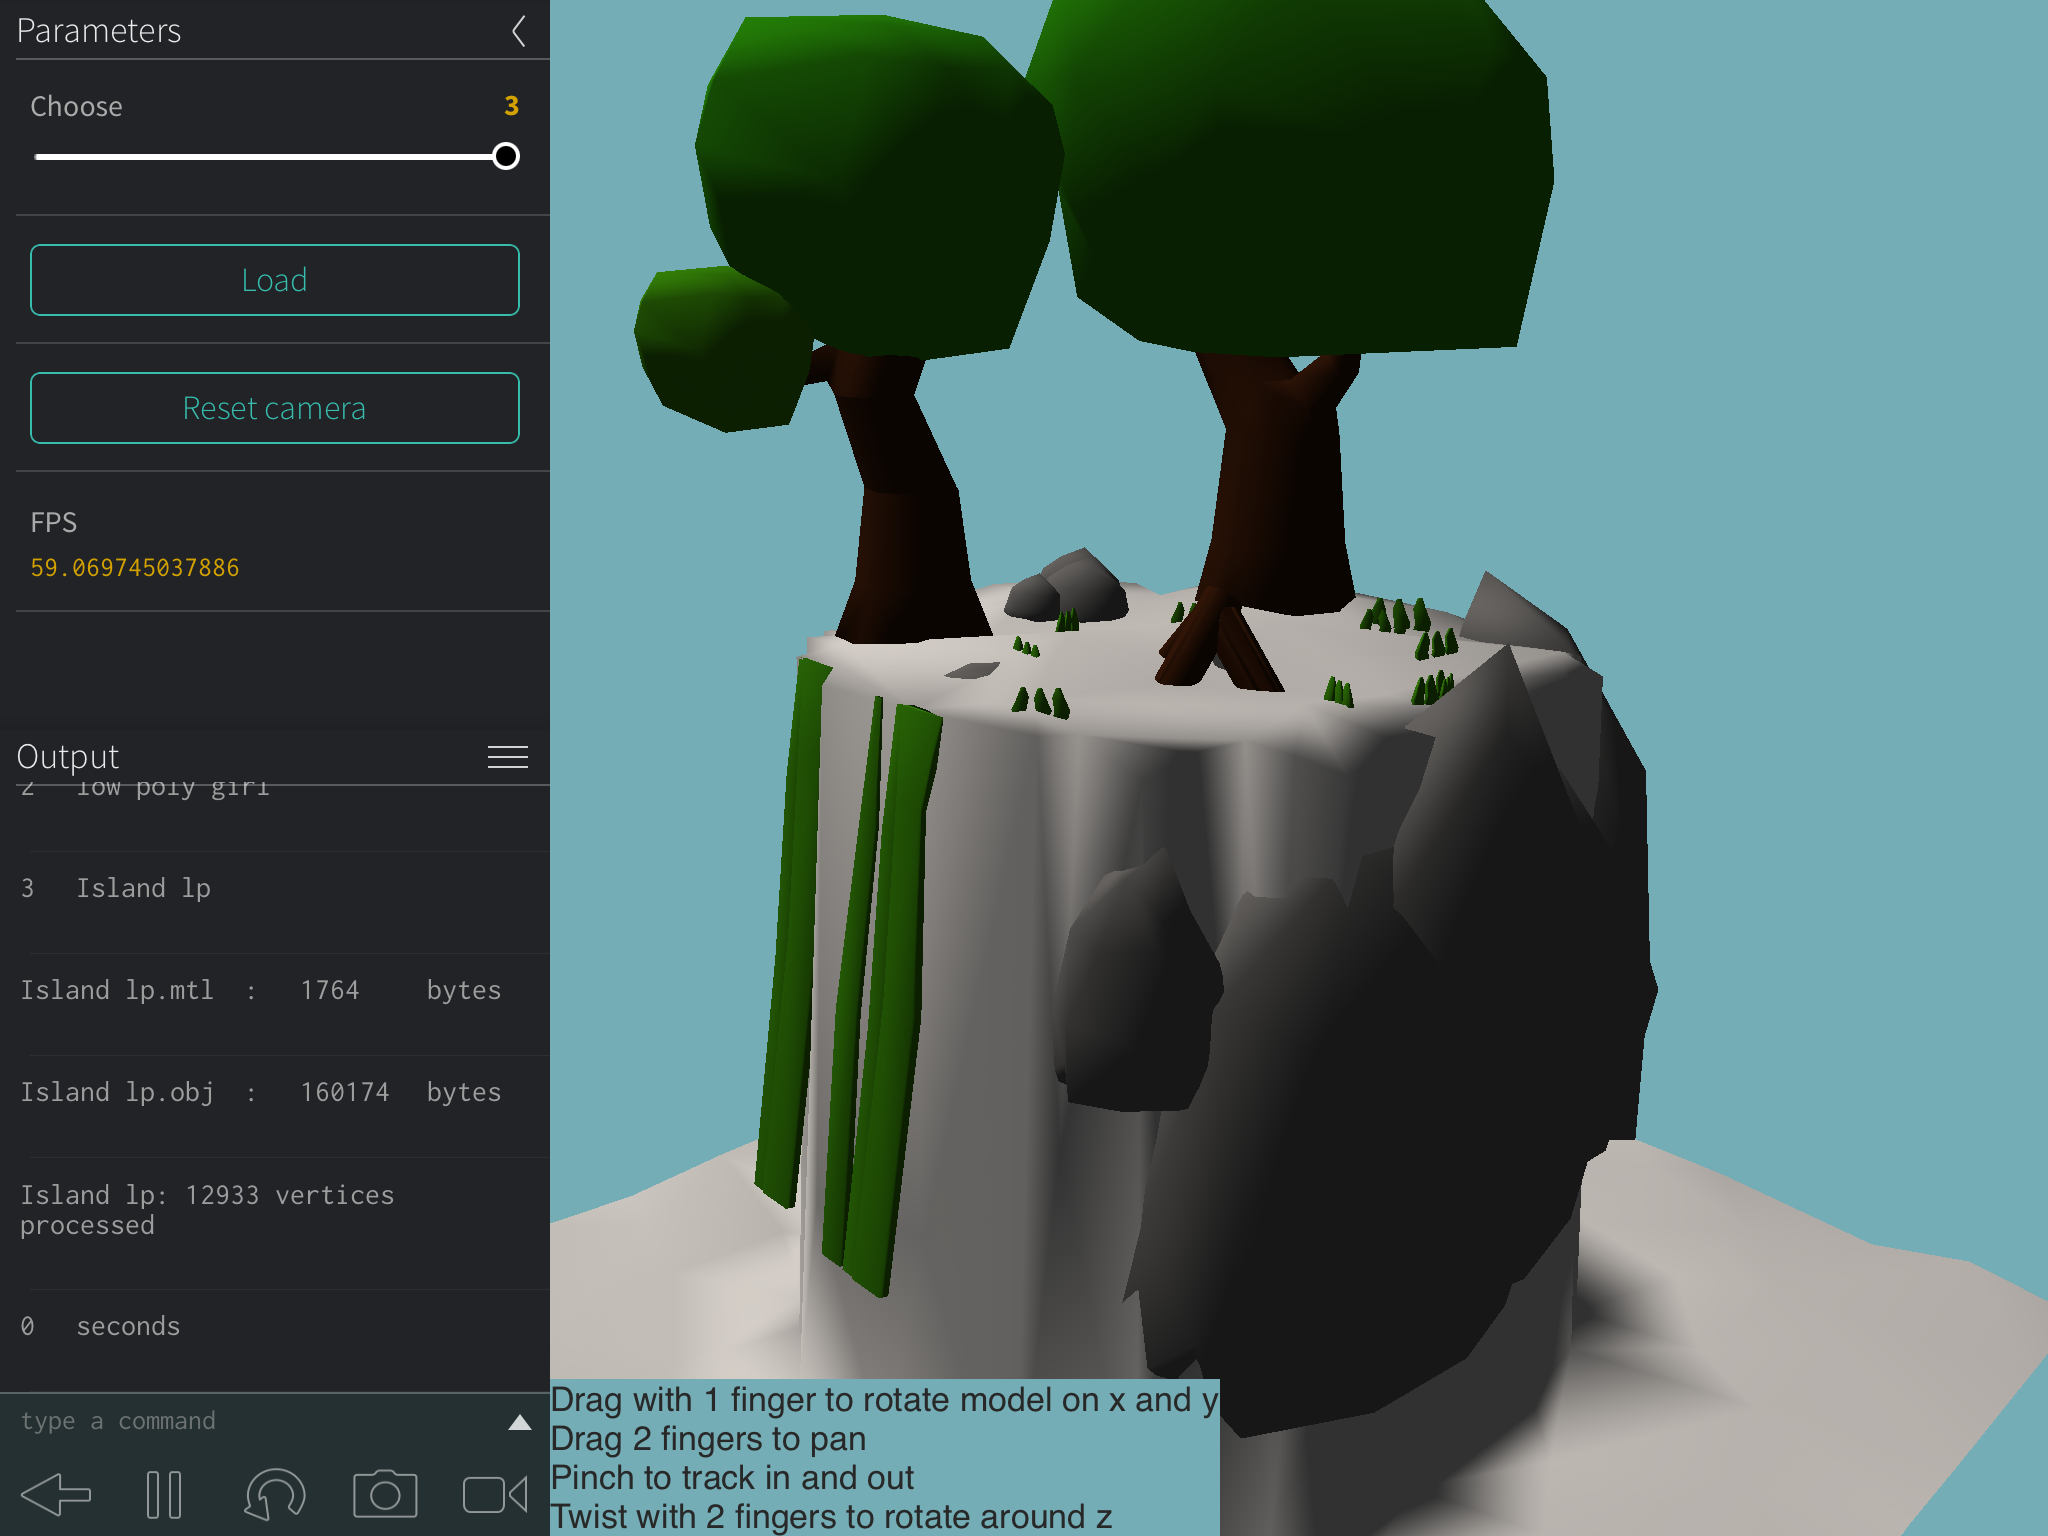
@yojimbo2000 - I’ve tried the latest code, and while I don’t get errors, when I load any model, it reports the number of bytes in the mtl and object files, pauses while it loads the files, then prints “0 bytes processed”, followed by the time in seconds.